Original: $236.93
-65%$236.93
$82.93The Story
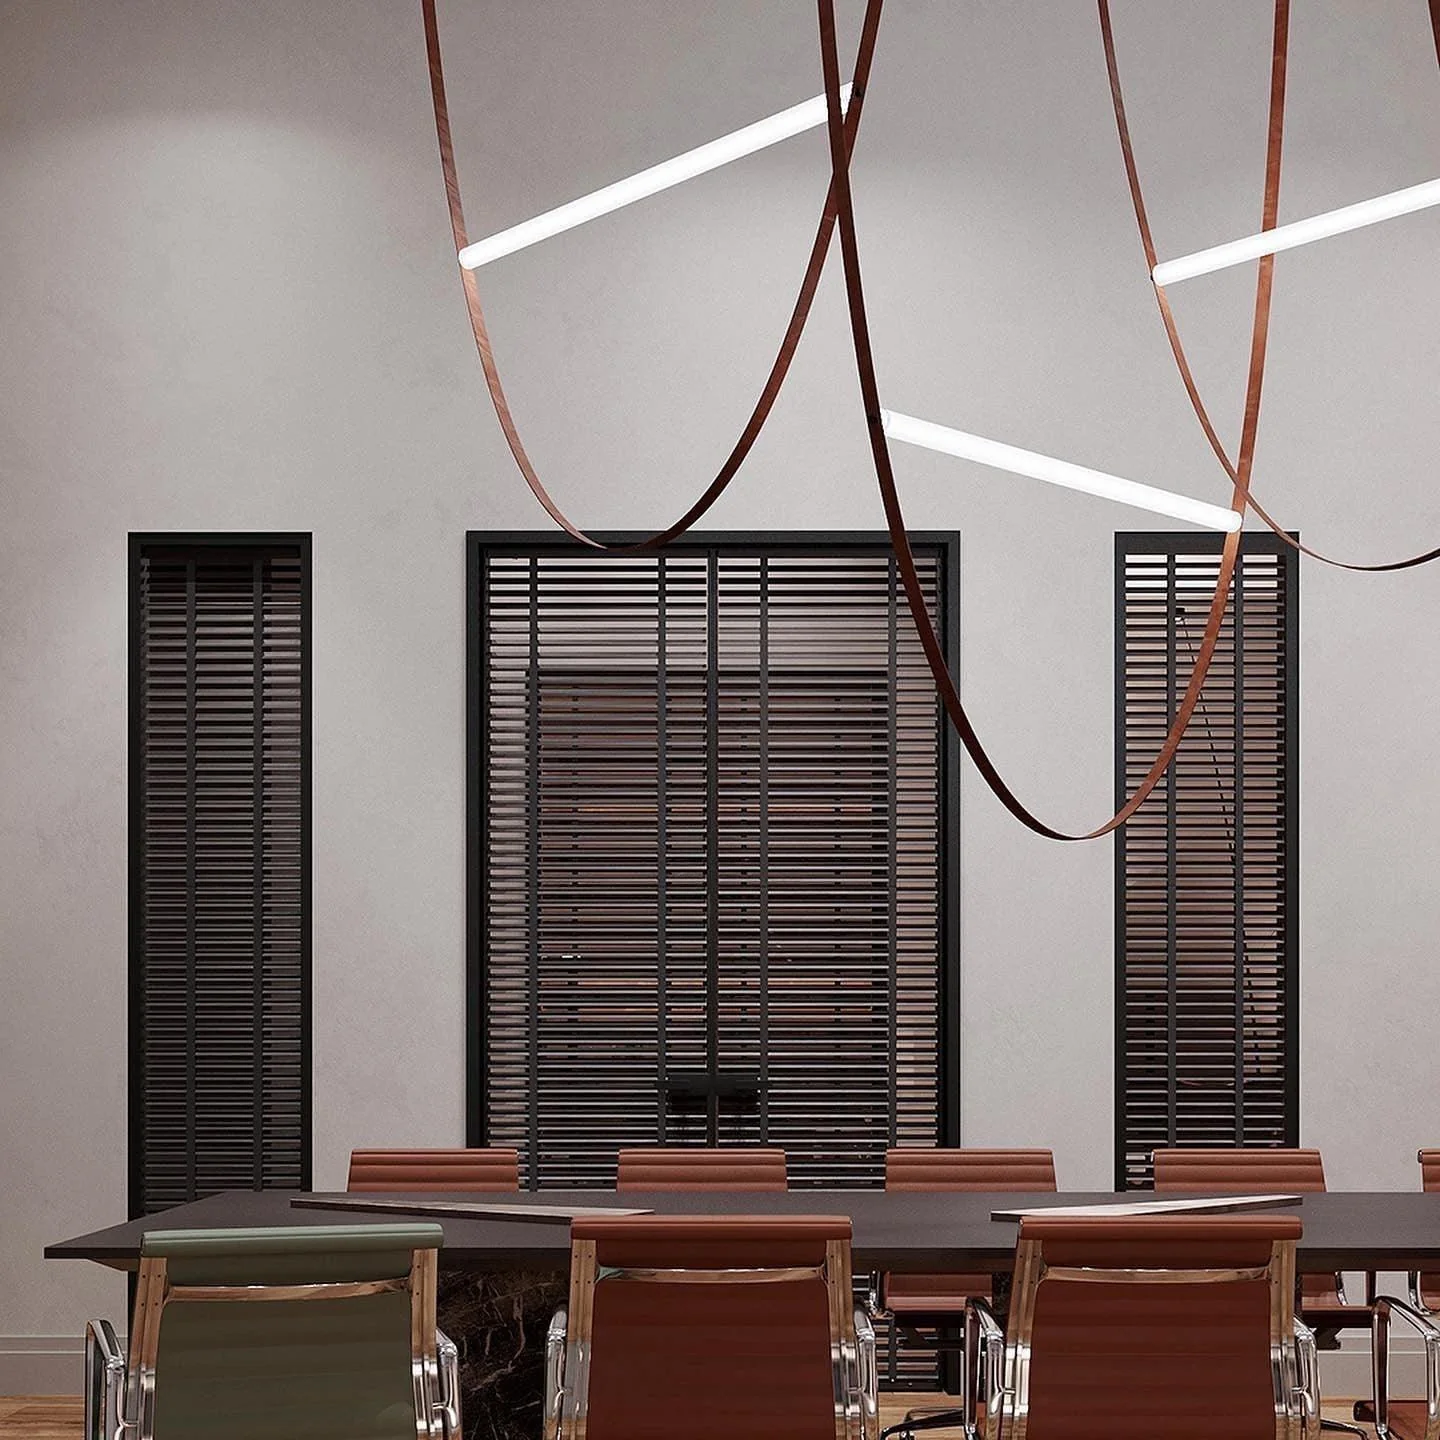
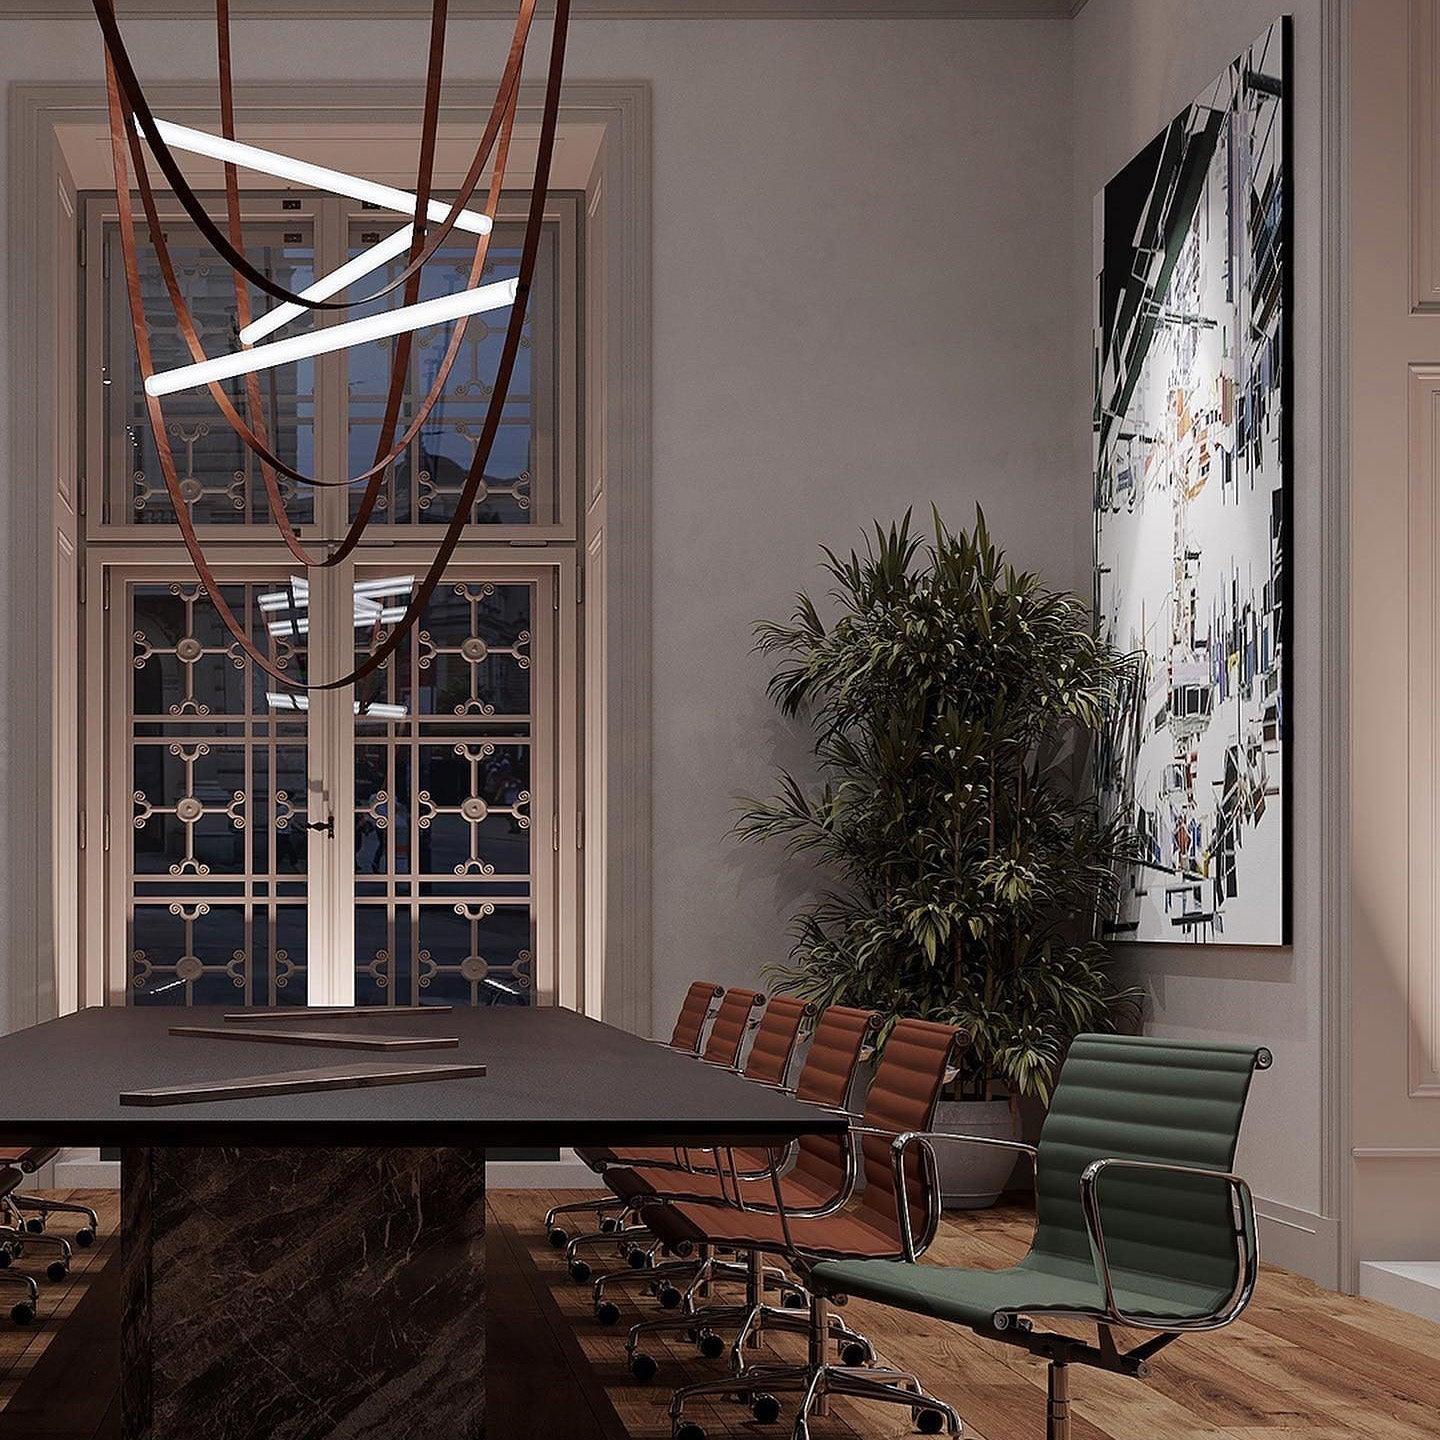
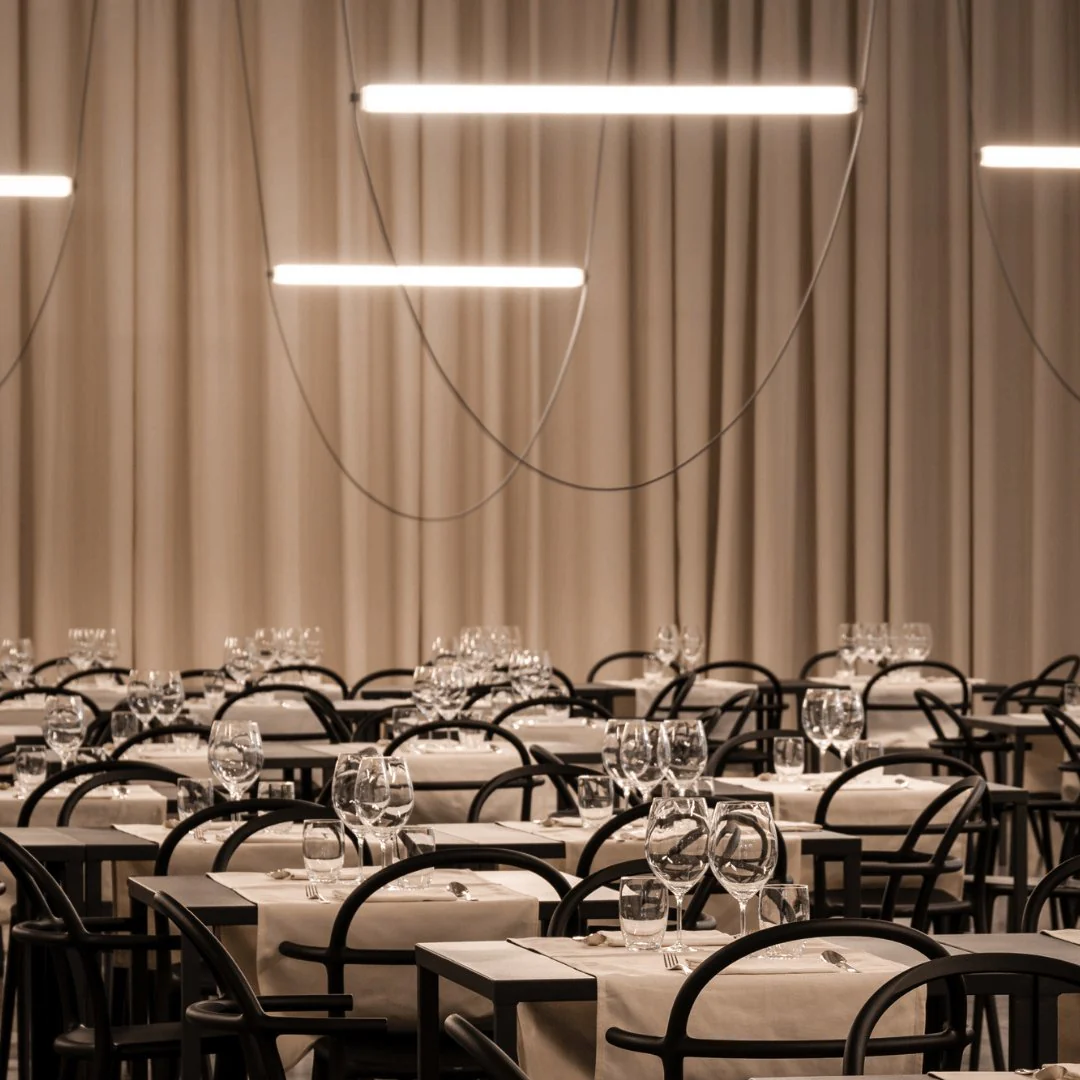
This pendant lamp features a chic silicone belt diffuser, providing even and bright lighting across your space. Its modern style adds both functionality and style to living rooms or dining areas.
We can customize the color (as shown below).

Product Size
Size: Tube L 40cm x H 105cm / L 15.7″ x H 41.3″ (Power: 10W)
Size: Tube L 47cm x H 117cm / L 18.5″ x H 46.1″ (Power: 12W)
Size: Tube L 67cm x H137cm / L 26.4″ x H 53.9″ (Power: 15W)
Size: Tube L 83cm x H 157cm / L 32.7″ x H 61.8″ (Power: 20W)
Size: Tube L 100cm x H 200cm / L 39.4″ x H 78.7″ (Power: 25W)
Size: Tube L 120cm x H 250cm / L 47.2″ x H 98.4″ (Power: 30W)
Size: Tube L 150cm x H 300cm / L 59.1″ x H 118.1″ (Power: 35W)
Size: Tube L 200cm x H 350cm / L 78.7″ x H 137.8″ (Power: 40W)

Size: L 47cm + L 67cm + L 83cm / L 18.5″ + L 26.4″ + L 32.7″ (Power: 50W)
Size: L 67cm + L 83cm + L 100cm / L 26.4″ + L 32.7″ + L 39.4″ (Power: 60W)
Size: L 83cm + L 100cm + L 120cm / L 32.7″ + L 39.4″ + L 47.2″ (Power: 75W)

Size: L 47cm + L 67cm + L 67cm + L 83cm + L 83cm / L 18.5″ + L 26.4″ + L 26.4″ + L 32.7″ + L 32.7″ (Power: 83W)
Size: L 67cm + L 67cm + L 83cm + L 83cm + L 100cm / L 26.4″ + L 26.4″ + L 32.7″ + L 32.7″ + L 39.4″ (Power: 93W)

Details
Material: Leather. Iron. Aluminum. Glass tube.
Light source: Integrated LED.
Kelvin range: Warm Light (3000K). Neutral Light (4000K). Cool Light (6000K).
Voltage: AC 110-240V.
Mounting: Ceiling.
Environment: Indoor.
Finishes: Light Brown. Black.
Silica gel Shade Finish: White.
Wiring: Hardwired.
Control method: Compatible with common wall switches (not included). or remote control dimmer switch.
Details & Craftsmanship
Every detail has been carefully considered to bring you the perfect product.

Details & Craftsmanship
Every detail has been carefully considered to bring you the perfect product.

Details & Craftsmanship
Every detail has been carefully considered to bring you the perfect product.

Details & Craftsmanship
Every detail has been carefully considered to bring you the perfect product.

Details & Craftsmanship
Every detail has been carefully considered to bring you the perfect product.
Details & Craftsmanship
Every detail has been carefully considered to bring you the perfect product.

Details & Craftsmanship
Every detail has been carefully considered to bring you the perfect product.

Details & Craftsmanship
Every detail has been carefully considered to bring you the perfect product.

Details & Craftsmanship
Every detail has been carefully considered to bring you the perfect product.

Details & Craftsmanship
Every detail has been carefully considered to bring you the perfect product.

Details & Craftsmanship
Every detail has been carefully considered to bring you the perfect product.

Details & Craftsmanship
Every detail has been carefully considered to bring you the perfect product.

Details & Craftsmanship
Every detail has been carefully considered to bring you the perfect product.

Details & Craftsmanship
Every detail has been carefully considered to bring you the perfect product.

Details & Craftsmanship
Every detail has been carefully considered to bring you the perfect product.

Details & Craftsmanship
Every detail has been carefully considered to bring you the perfect product.

Details & Craftsmanship
Every detail has been carefully considered to bring you the perfect product.

Details & Craftsmanship
Every detail has been carefully considered to bring you the perfect product.

Details & Craftsmanship
Every detail has been carefully considered to bring you the perfect product.

Details & Craftsmanship
Every detail has been carefully considered to bring you the perfect product.

Details & Craftsmanship
Every detail has been carefully considered to bring you the perfect product.

Details & Craftsmanship
Every detail has been carefully considered to bring you the perfect product.

Details & Craftsmanship
Every detail has been carefully considered to bring you the perfect product.

Details & Craftsmanship
Every detail has been carefully considered to bring you the perfect product.

Details & Craftsmanship
Every detail has been carefully considered to bring you the perfect product.

Details & Craftsmanship
Every detail has been carefully considered to bring you the perfect product.

Details & Craftsmanship
Every detail has been carefully considered to bring you the perfect product.

Details & Craftsmanship
Every detail has been carefully considered to bring you the perfect product.

Details & Craftsmanship
Every detail has been carefully considered to bring you the perfect product.

Details & Craftsmanship
Every detail has been carefully considered to bring you the perfect product.

Details & Craftsmanship
Every detail has been carefully considered to bring you the perfect product.

Details & Craftsmanship
Every detail has been carefully considered to bring you the perfect product.

Details & Craftsmanship
Every detail has been carefully considered to bring you the perfect product.

Details & Craftsmanship
Every detail has been carefully considered to bring you the perfect product.

Details & Craftsmanship
Every detail has been carefully considered to bring you the perfect product.

Details & Craftsmanship
Every detail has been carefully considered to bring you the perfect product.

Details & Craftsmanship
Every detail has been carefully considered to bring you the perfect product.

Details & Craftsmanship
Every detail has been carefully considered to bring you the perfect product.

Details & Craftsmanship
Every detail has been carefully considered to bring you the perfect product.

Details & Craftsmanship
Every detail has been carefully considered to bring you the perfect product.

Details & Craftsmanship
Every detail has been carefully considered to bring you the perfect product.

Details & Craftsmanship
Every detail has been carefully considered to bring you the perfect product.

Details & Craftsmanship
Every detail has been carefully considered to bring you the perfect product.

Details & Craftsmanship
Every detail has been carefully considered to bring you the perfect product.

Details & Craftsmanship
Every detail has been carefully considered to bring you the perfect product.

Details & Craftsmanship
Every detail has been carefully considered to bring you the perfect product.

Details & Craftsmanship
Every detail has been carefully considered to bring you the perfect product.

Details & Craftsmanship
Every detail has been carefully considered to bring you the perfect product.

Details & Craftsmanship
Every detail has been carefully considered to bring you the perfect product.

Details & Craftsmanship
Every detail has been carefully considered to bring you the perfect product.

Details & Craftsmanship
Every detail has been carefully considered to bring you the perfect product.

Details & Craftsmanship
Every detail has been carefully considered to bring you the perfect product.

Details & Craftsmanship
Every detail has been carefully considered to bring you the perfect product.

Details & Craftsmanship
Every detail has been carefully considered to bring you the perfect product.

Details & Craftsmanship
Every detail has been carefully considered to bring you the perfect product.

Details & Craftsmanship
Every detail has been carefully considered to bring you the perfect product.

Details & Craftsmanship
Every detail has been carefully considered to bring you the perfect product.

Details & Craftsmanship
Every detail has been carefully considered to bring you the perfect product.

Details & Craftsmanship
Every detail has been carefully considered to bring you the perfect product.

Details & Craftsmanship
Every detail has been carefully considered to bring you the perfect product.

Details & Craftsmanship
Every detail has been carefully considered to bring you the perfect product.

Details & Craftsmanship
Every detail has been carefully considered to bring you the perfect product.

Details & Craftsmanship
Every detail has been carefully considered to bring you the perfect product.

Details & Craftsmanship
Every detail has been carefully considered to bring you the perfect product.

Details & Craftsmanship
Every detail has been carefully considered to bring you the perfect product.

Details & Craftsmanship
Every detail has been carefully considered to bring you the perfect product.

Details & Craftsmanship
Every detail has been carefully considered to bring you the perfect product.

Details & Craftsmanship
Every detail has been carefully considered to bring you the perfect product.

Details & Craftsmanship
Every detail has been carefully considered to bring you the perfect product.

Details & Craftsmanship
Every detail has been carefully considered to bring you the perfect product.

Details & Craftsmanship
Every detail has been carefully considered to bring you the perfect product.

Details & Craftsmanship
Every detail has been carefully considered to bring you the perfect product.

Details & Craftsmanship
Every detail has been carefully considered to bring you the perfect product.

Details & Craftsmanship
Every detail has been carefully considered to bring you the perfect product.

Details & Craftsmanship
Every detail has been carefully considered to bring you the perfect product.

Details & Craftsmanship
Every detail has been carefully considered to bring you the perfect product.

Details & Craftsmanship
Every detail has been carefully considered to bring you the perfect product.

Details & Craftsmanship
Every detail has been carefully considered to bring you the perfect product.

Details & Craftsmanship
Every detail has been carefully considered to bring you the perfect product.

Details & Craftsmanship
Every detail has been carefully considered to bring you the perfect product.
Details & Craftsmanship
Every detail has been carefully considered to bring you the perfect product.
Description
This pendant lamp features a chic silicone belt diffuser, providing even and bright lighting across your space. Its modern style adds both functionality and style to living rooms or dining areas.
We can customize the color (as shown below).
Product Size
Size: Tube L 40cm x H 105cm / L 15.7″ x H 41.3″ (Power: 10W)
Size: Tube L 47cm x H 117cm / L 18.5″ x H 46.1″ (Power: 12W)
Size: Tube L 67cm x H137cm / L 26.4″ x H 53.9″ (Power: 15W)
Size: Tube L 83cm x H 157cm / L 32.7″ x H 61.8″ (Power: 20W)
Size: Tube L 100cm x H 200cm / L 39.4″ x H 78.7″ (Power: 25W)
Size: Tube L 120cm x H 250cm / L 47.2″ x H 98.4″ (Power: 30W)
Size: Tube L 150cm x H 300cm / L 59.1″ x H 118.1″ (Power: 35W)
Size: Tube L 200cm x H 350cm / L 78.7″ x H 137.8″ (Power: 40W)
Size: L 47cm + L 67cm + L 83cm / L 18.5″ + L 26.4″ + L 32.7″ (Power: 50W)
Size: L 67cm + L 83cm + L 100cm / L 26.4″ + L 32.7″ + L 39.4″ (Power: 60W)
Size: L 83cm + L 100cm + L 120cm / L 32.7″ + L 39.4″ + L 47.2″ (Power: 75W)
Size: L 47cm + L 67cm + L 67cm + L 83cm + L 83cm / L 18.5″ + L 26.4″ + L 26.4″ + L 32.7″ + L 32.7″ (Power: 83W)
Size: L 67cm + L 67cm + L 83cm + L 83cm + L 100cm / L 26.4″ + L 26.4″ + L 32.7″ + L 32.7″ + L 39.4″ (Power: 93W)
Details
Material: Leather. Iron. Aluminum. Glass tube.
Light source: Integrated LED.
Kelvin range: Warm Light (3000K). Neutral Light (4000K). Cool Light (6000K).
Voltage: AC 110-240V.
Mounting: Ceiling.
Environment: Indoor.
Finishes: Light Brown. Black.
Silica gel Shade Finish: White.
Wiring: Hardwired.
Control method: Compatible with common wall switches (not included). or remote control dimmer switch.